Temenos Lifecycle Management Suite - Origination Product Guide
Create Deal Options
| Administrator Guide > Rules Management > Rules Management - Available Templates > Vocabulary Template Examples > Create Deal Options |
Deal Options Processing are used by the financial institutions partnered with the vehicle dealerships to increase their loan volume. Dealers can now provide their customers with multiple term or rate pairs in addition to the original request.
This application level template enables the institutions to define the interval in which the deal option terms should increase and/or decrease.
The syntax of this template is provided below.
Create deal options that <action> term by <interval> month intervals and prioritize <priority> terms.
| Template Placeholders | Display Text | Required Value in Template |
| <action> | [select action] |
Yes Valid values: |
| <interval> | <interval> | Yes |
| <priority> | [select priority] |
No Valid values: |
Using this template, the 'Term' or "Deal Intervals" in the Deal Options Grid are generated which are used while creating various deal options scenarios.
 |
If the action and interval parameters are not set, then Deal options are not processed and a notification "Deal Options were not created because minimum parameters were not defined" is displayed. |
Once the deal intervals are generated, the 'Execute Deal Options Processing' action processes the Original Request where the Maximum Amount is set as the Original Loan amount and Maximum LTV is calculated using the below formula.
Application LTV Ratio * 100
This is a multi-step process and triggered by event processing.
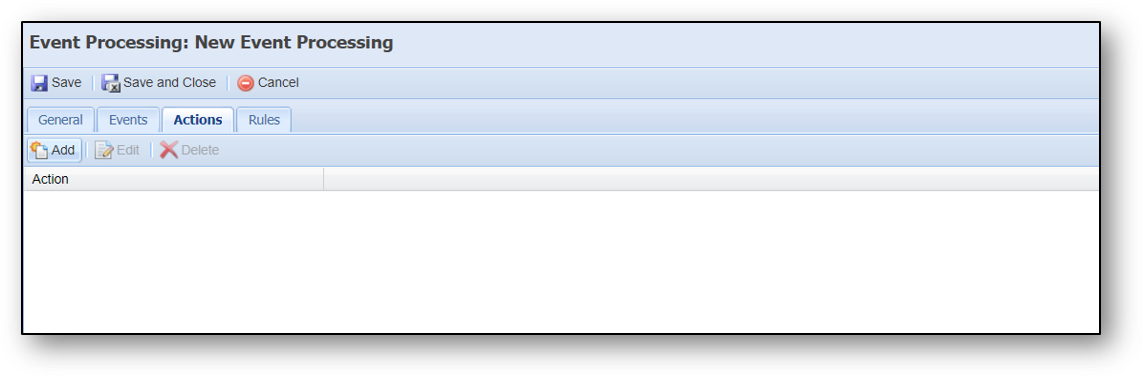
To create a deal option, perform the following steps:
When you click Create, the following window is displayed.
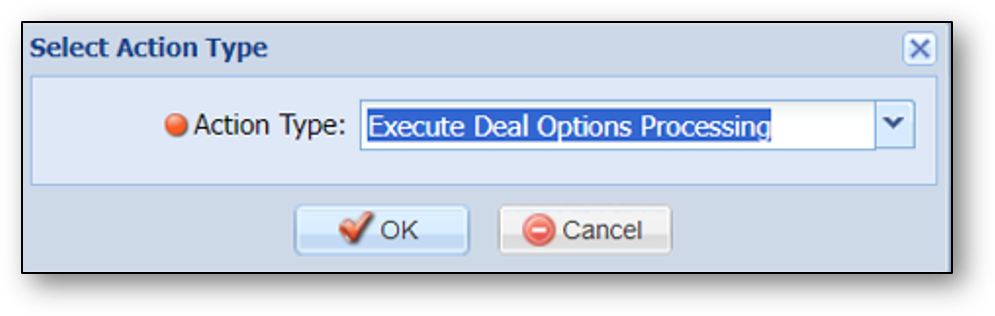
When you click OK, the following window is displayed.
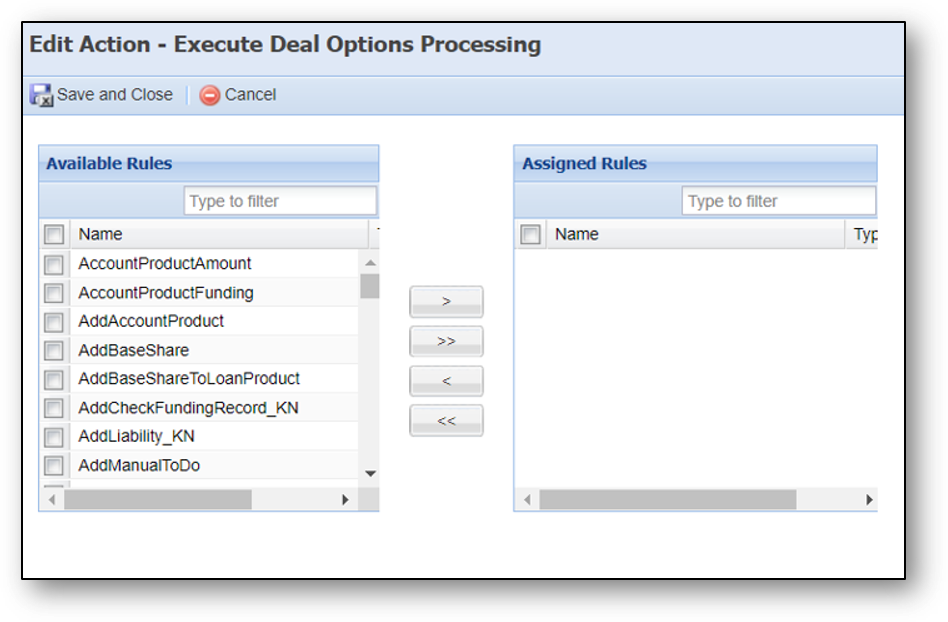
When you click OK, the following window is displayed.
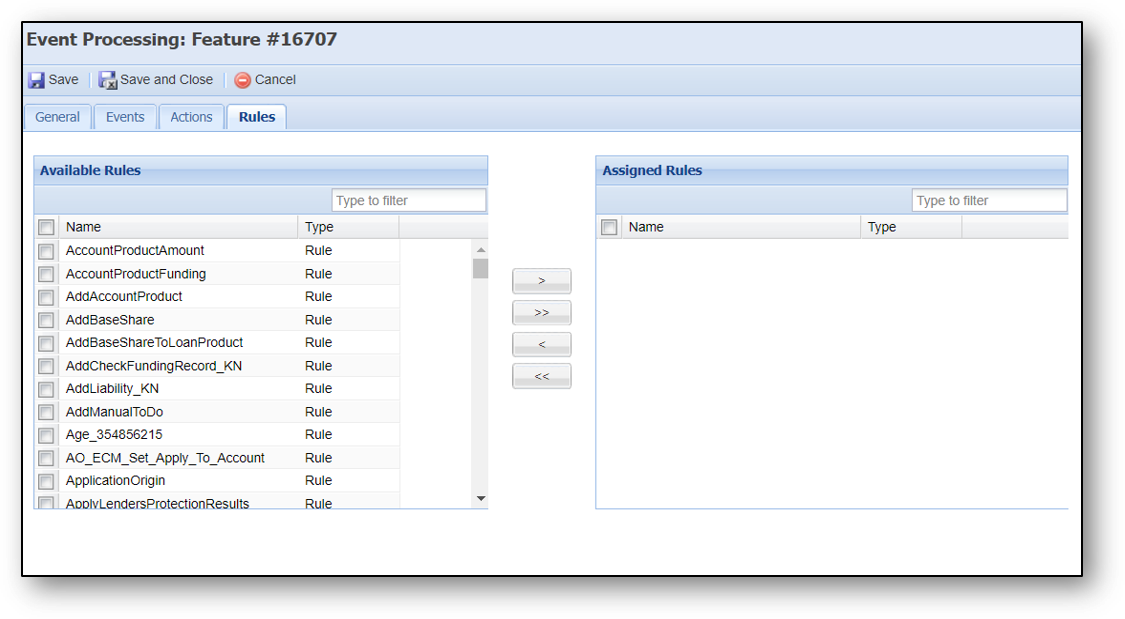
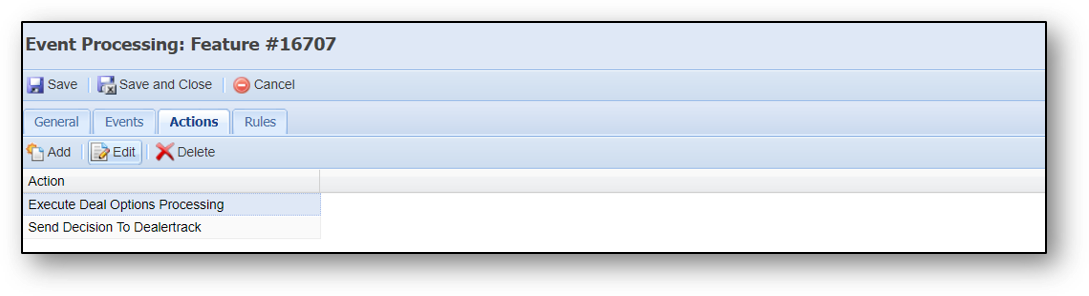
In the Event Processing screen, the action items are mapped to events.
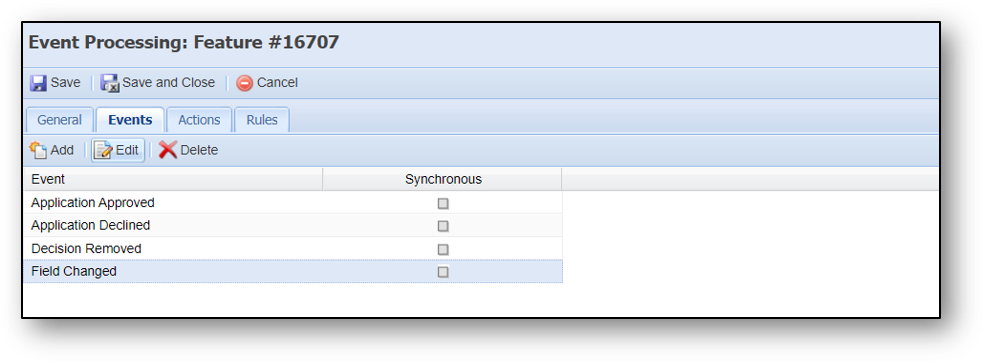
When you click Add, the below window is displayed.
|
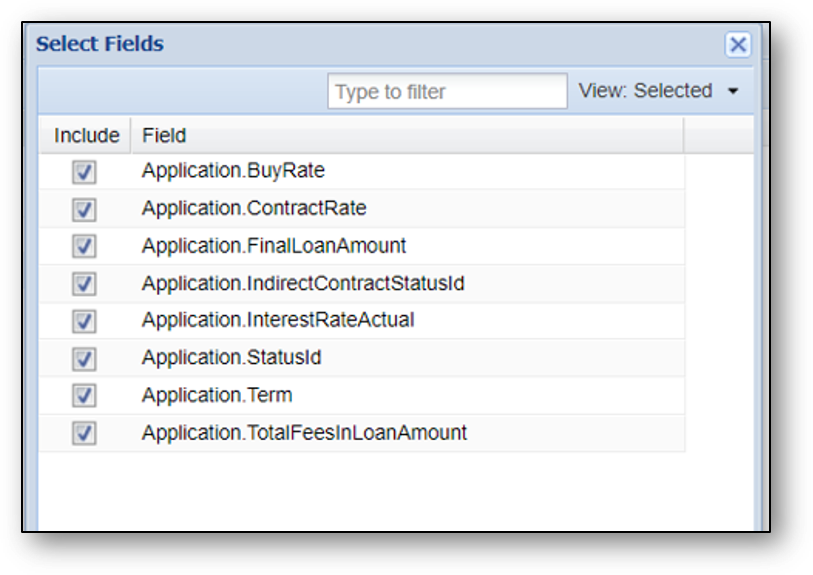
Select Fields window allows the user to select the required fields for Field Changed event. |

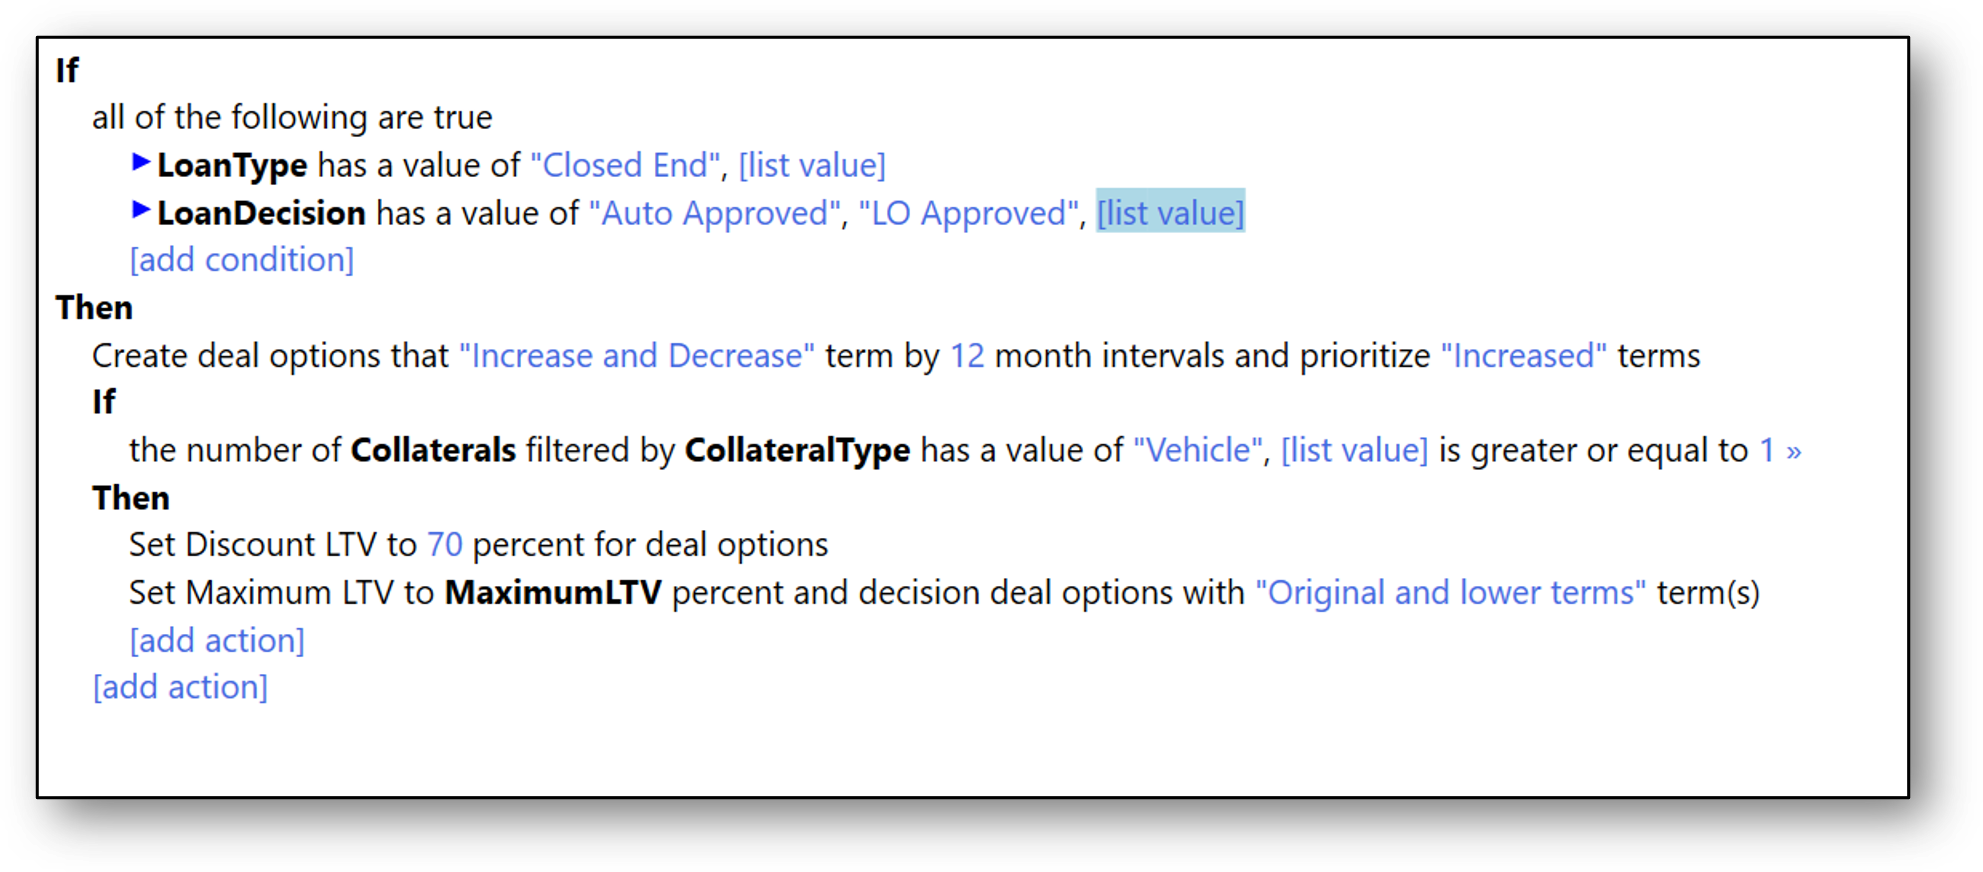
Click Rules tab to view the fields listed in the Available Rules list. The below screenshot is an example for creating deal options using Rules.
Click Save.